Reverse Engineering C3000Z
Table of Contents
The following post goes through the steps I took to reverse engineer different binaries in routers with the goal of decrypting an encoded password.
I recently switched internet providers and was given a new modem/router. When the technician came to setup my service, the device was already configured and just needed plugged in. I was planning on switching out the device with my old router, since I already had firewall rules and static routes configured, however when I logged into the new device I noticed it was configured to use PPoE to connect to the ISP. I could see the username but the password was not visable. I was able to find an option to backup the settings to a configuration file hoping it would store the password in plain text, unfortunately the password was encrypted. Instead of calling the ISP to get the credentials, I figured I would first try to figure out a way to decrypt the password. This process not only helped teach me about reverse engineering, but also about testing IoT devices and what can be found in the firmware.
C3000Z Details
The C3000Z modem/WiFi router is similar to many other devices in that it provides both 2.4GHz and 5GHz wireless capabilities and is easy to manage via the web interface. More details can be found through CenturyLink’s website.
At the time of writing this, the firmware that was tested was version CZD005-4.16.011.0.
Configuration Backup
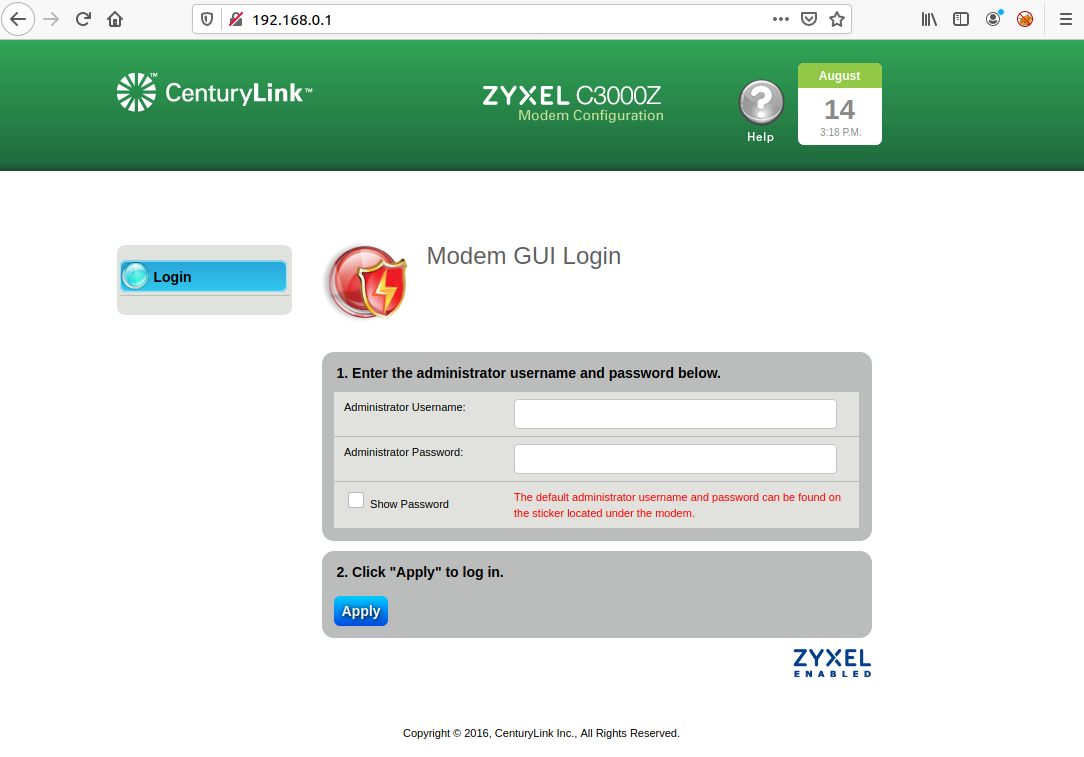
To start, I went to http://192.168.0.1 and logged into the device using the admin credentials that were provided with the device.
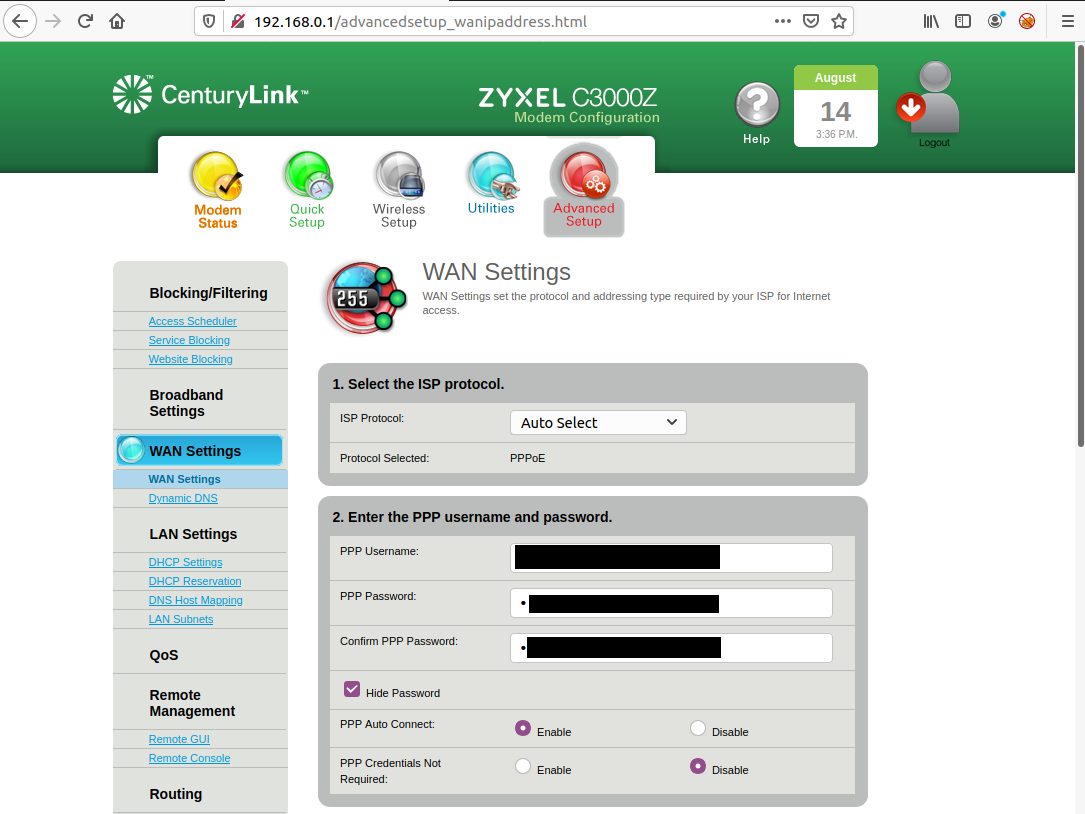
To view the PPP username, I went to Advanced Setup -> WAN Settings. The username was visable but the password just showed dots.
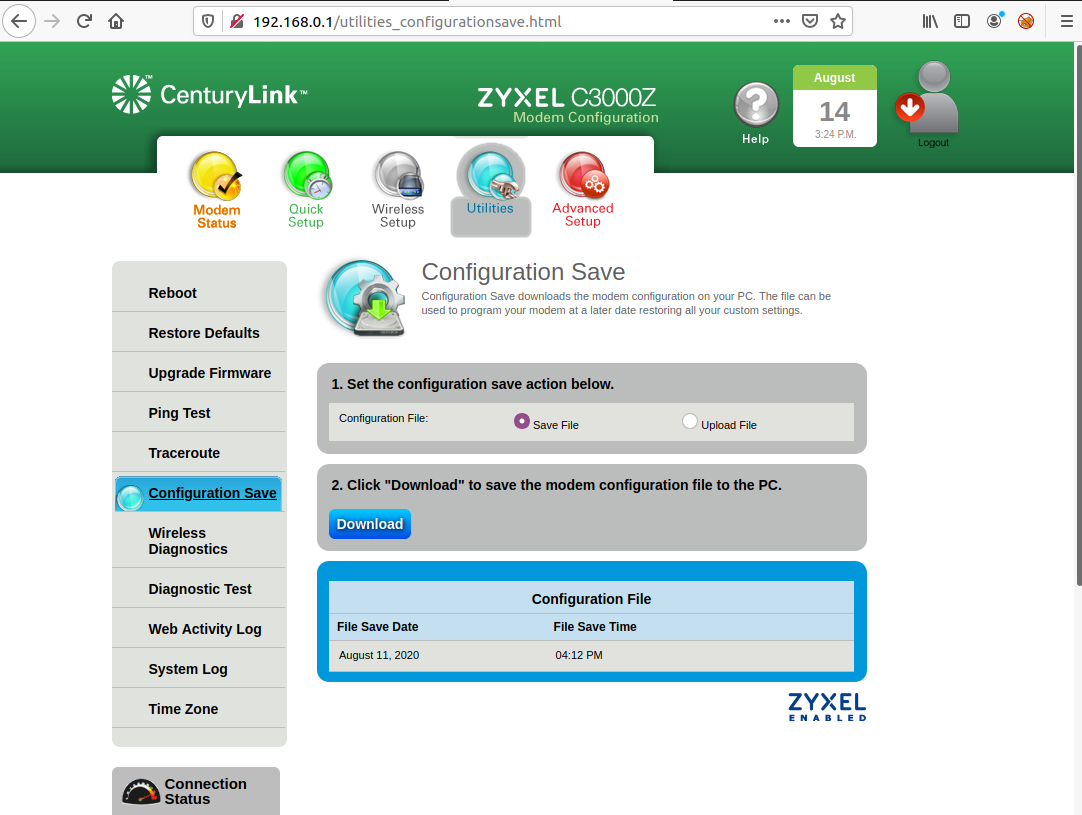
Next I went to backup the settings by going to Utilities -> Configuration Save. This page had a download link to save the configuration file as an XML file.
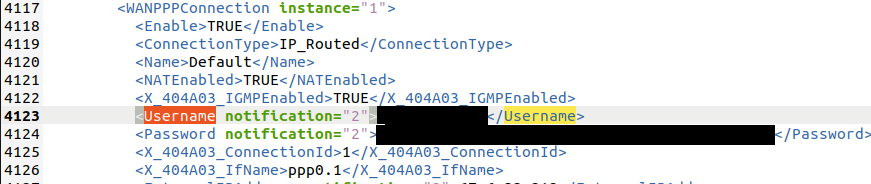
Once I opened the configuration file I searched for “password”. There were a variety of usernames and passwords but the one I looked for was related to WANPPP.
The password looked like it might only be base64 encoded since it ended in an equal sign. When I tried decoding it, it said “Salted_” with some random characters. I Googled around for awhile to see if I could find anything useful, but came up empy handed. At this point I decided to download the firmware to look through it.
Obtaining the Firmware
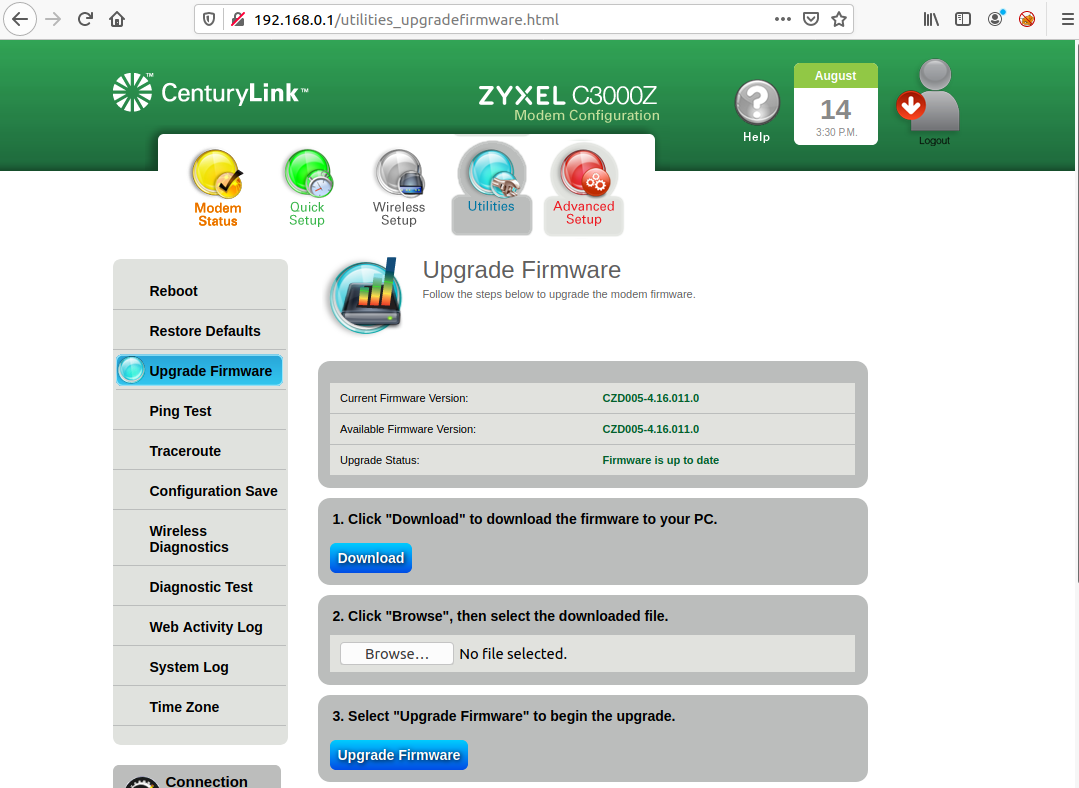
I downloaded the firmware while I was logged into the device by going to Utilities -> Upgrade Firmware. The page showed the current firmware version and provides a button to download the firmware.
The firmware can also be downloaded from CenturyLink’s website.
Extracting the Filesystem
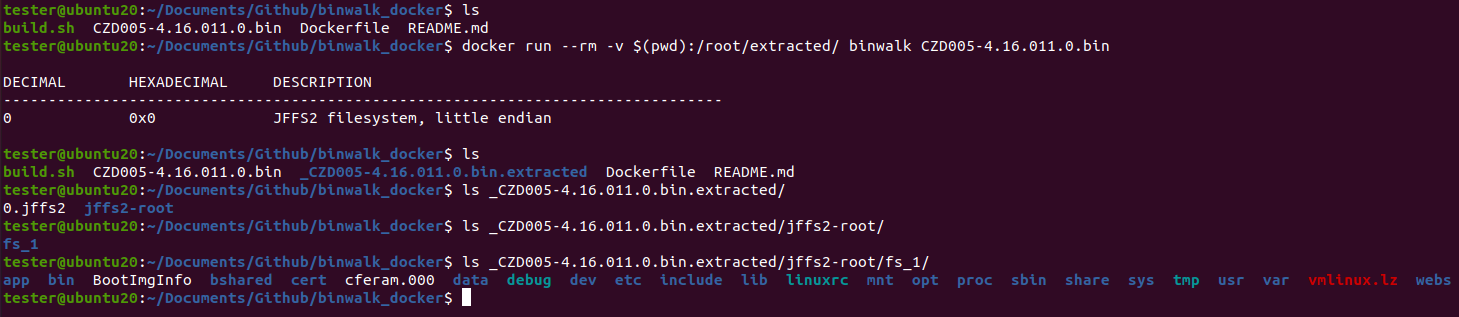
I needed to extract the filesytem from the firmware in order to view the different binaries. There are multiple ways this can be done but one of the easiest is to install and use binwalk. Binwalk can be a little bit of a pain to install based on all of the dependencies it needs so I have created a docker image that makes it easy to build and extract the firmware.
$ git clone https://github.com/lum8rjack/binwalk_docker.git
$ cd binwalk_docker
$ ./build
$ docker run --rm -v $(pwd):/root/extracted/ binwalk CZD005-4.16.011.0.bin
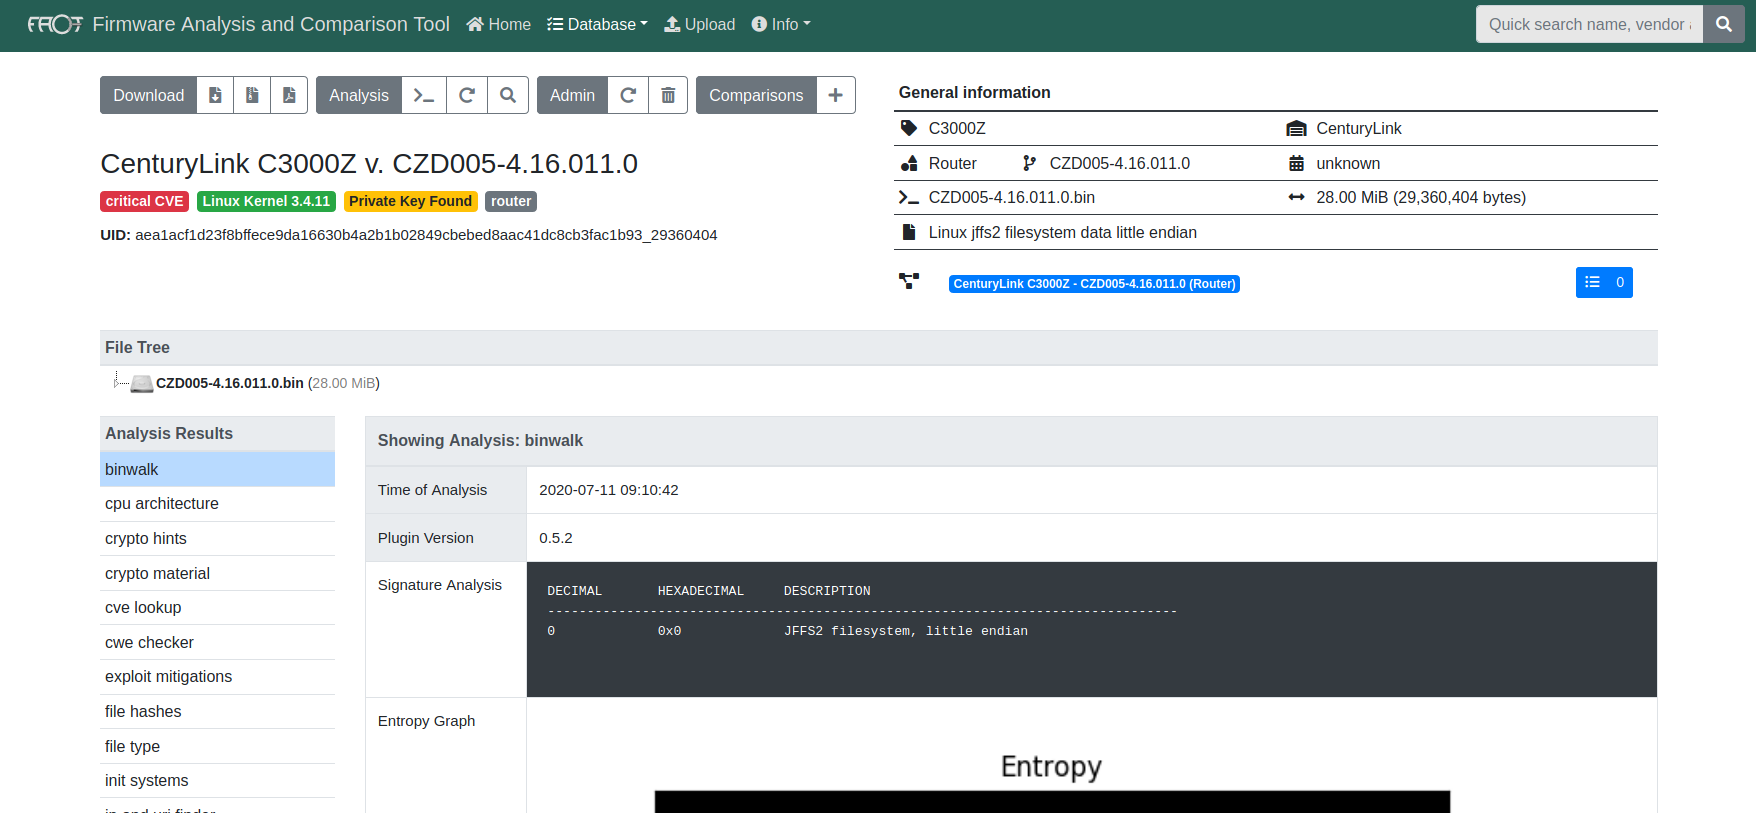
Another method is using the Firmware Analysis and Comparison Tool (FACT) to not only extract the firmware but also automate analyzing multiple other aspects of the firmware image.
Identify the Binary
My next step was to figure out which binary encrypts the passwords. I figured I would start looking through the file system for any config files or scripts that the web application would call. The filesystem directory structure is similar to most linux systems.
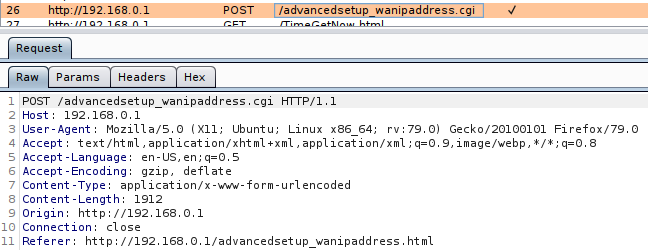
The “webs” directory contained all of the static HTML pages but didn’t have any scripts that might get called. After enumerating the filesystem for awhile I decided to interact with the web application and intercepted the traffic with Burp. After looking through the web application and applying some changes to different parts of the device, I found a few calls to CGI scripts. One in particular was the “advancedsetup_wanipaddress.cgi” script that is called when you try to change the PPP credentials.
I searched for all files ending in “.cgi” in the filesystem but didn’t find anything. I decided to look into the web server binary to see if it handled the different requests. After searching the firmware file system I found a binary called “httpd” located in the “/bin” folder. I loaded up Ghidra and began analyzing it.
Using Ghidra
I used Ghidra and the default settings to analyze the “httpd” binary. Once it was done analyzing, I searched the strings for any reference to the cgi file but nothing was returned. I did find references to other cgi files and also searched for strings related to passwords.
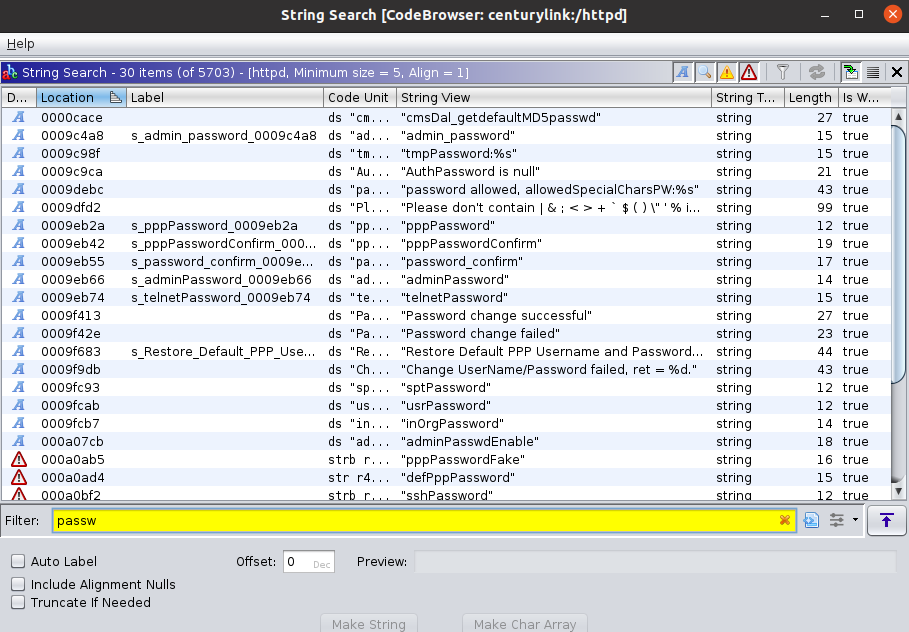
I looked through many of the results but couldn’t find anything interesting related to either encrypting the password or backing up the configuration. I then looked at the imports table to see what shared libraries it used. There were around 36 different shared libraries but a few that looked interesting included:
- libcms_core.so
- libcms_util.so
- libcms_sslconf.so
I loaded up the “libcms_core.so” library into Ghidra thinking it may contain a majority of the functions the web server uses. I analyzed the binary and then searched the strings again. After doing a few different searches, I was able to find some references that might be related to decoding the passwords.
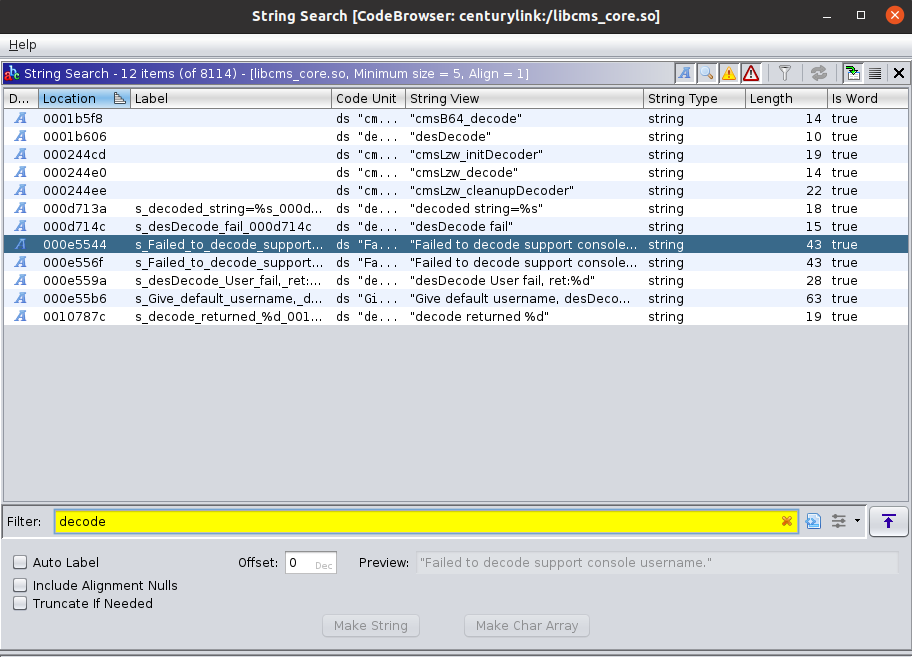
I decided to start with the “Failed to decode support console…” result hoping it would show what leads into the decoding. After loading the references, I right clicked and went to References -> Show References to Address.
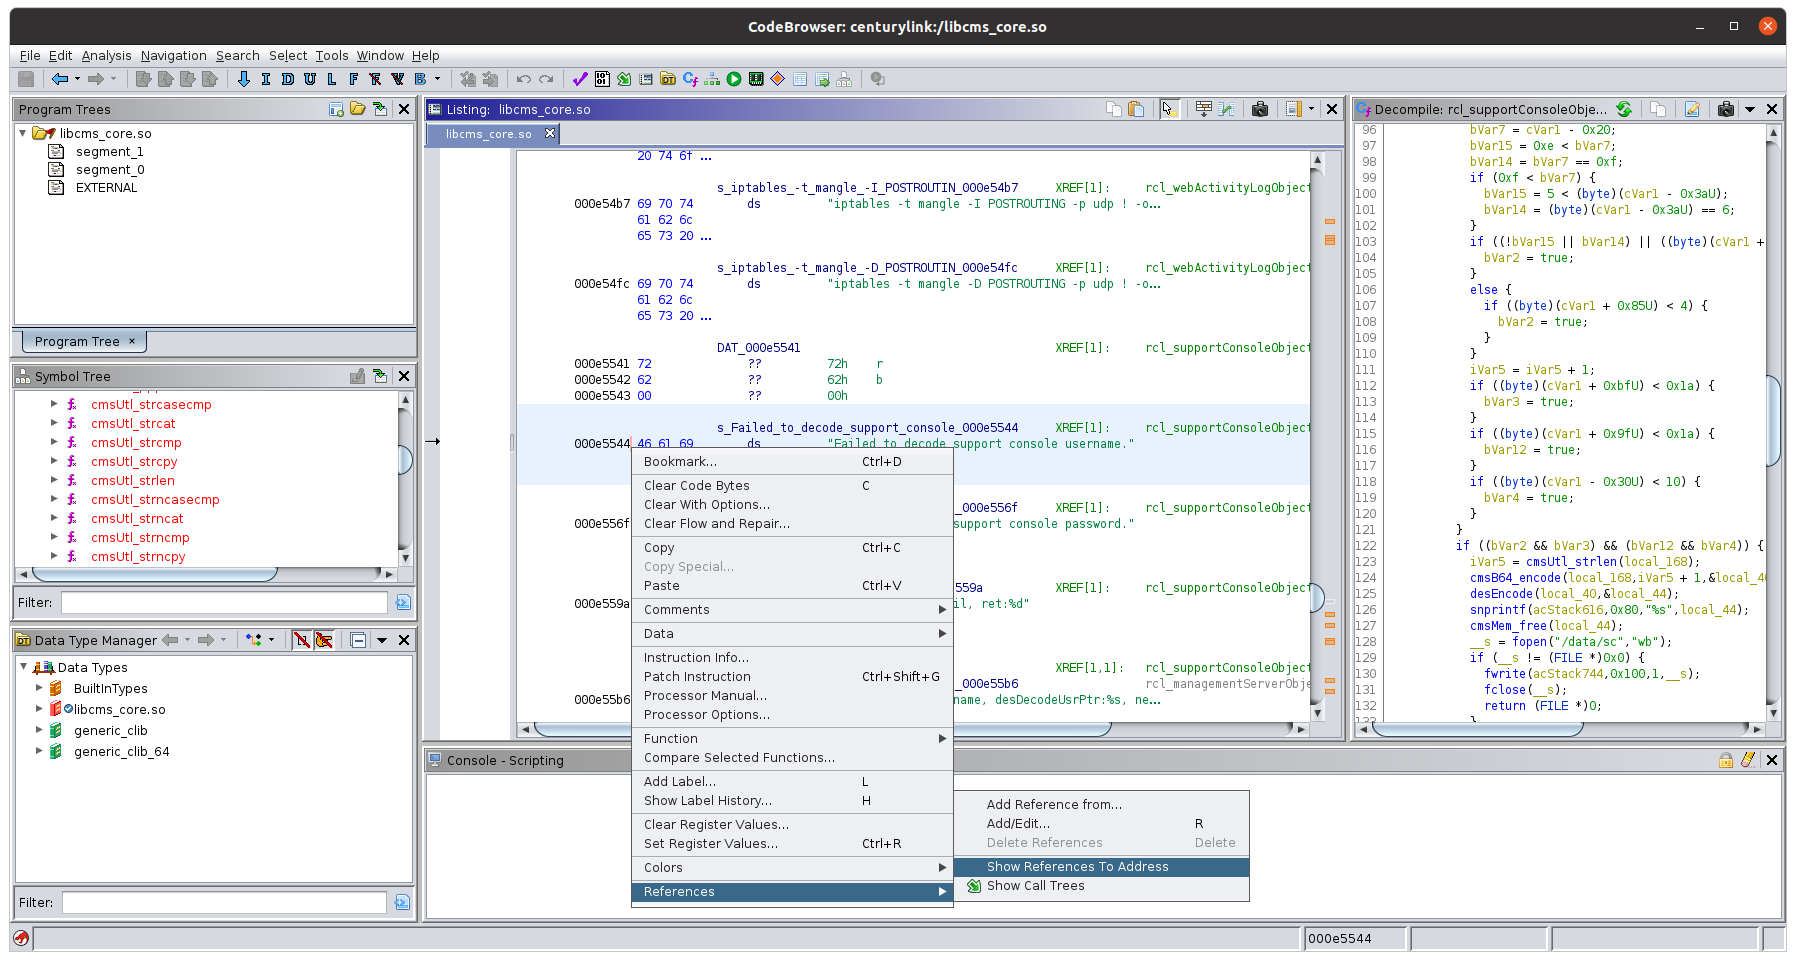
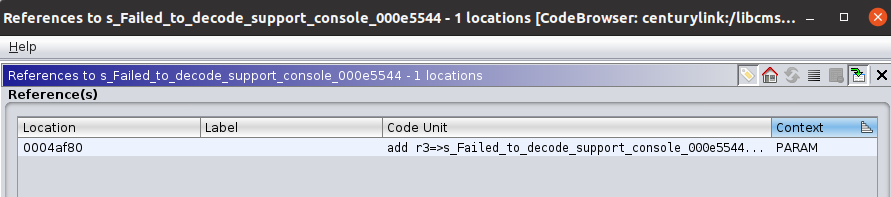
This brought up a window showing all references to “Failed to decode support console…”. I clicked on the only one reference to load the function so I could view it in the decompiler window.
Looking through the decompiler window, I was able to find the “Failed to decode support console” string and the “desDecode” function right before it.
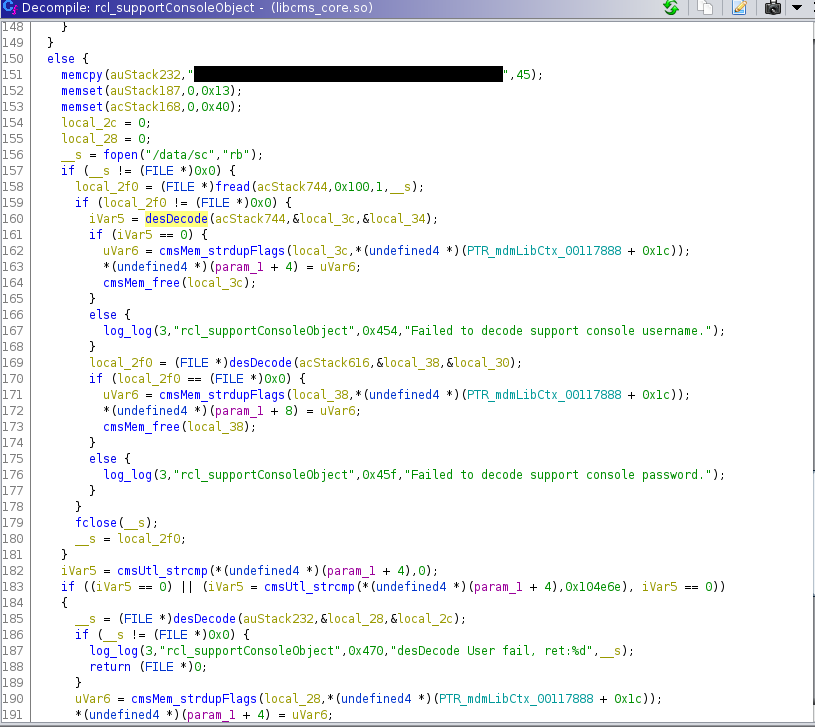
There were a few interesting lines to take note from the screenshot above:
- Line 151 looks like memory is being allocated for an already encoded password (The first few characters of the string are the same as the passwords in the configuration file)
- Line 185 uses the “desDecode” function to decode password and return a file pointer
I tried jumping into the “desDecode” function to see how it worked but was provided the screen below.
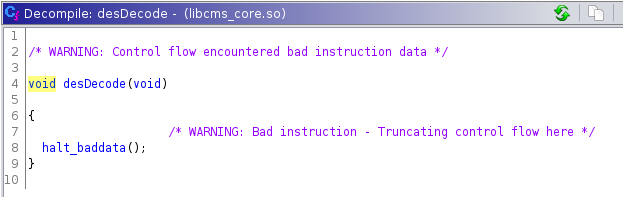
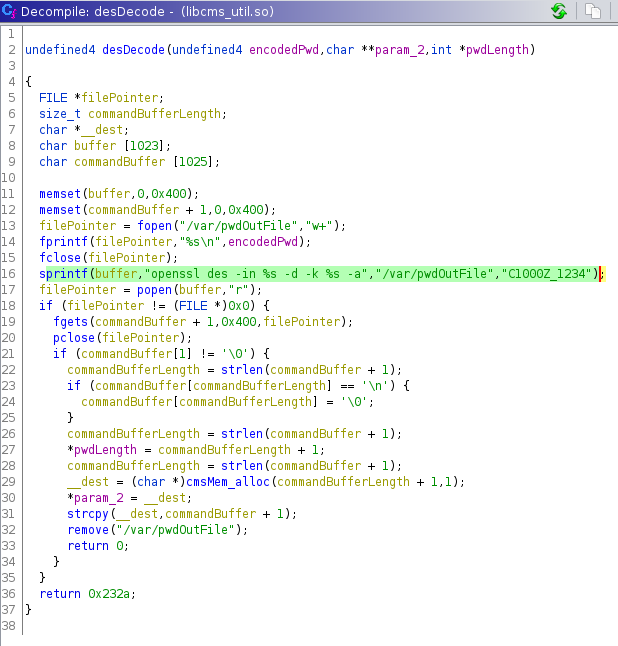
It took me awhile to figure out what was happening, but after some Googling and a lot of trial and error I figured out the function was being imported from a separate shared library. I analyzed a few other shared libraries and was able to find the “desDecode” function in the symbol tree of the libcms_util.so libary. Looking at the decompiler, you can see the function takes the same three arguments we initially saw and uses “openssl” to decrypt the encoded password using the static key “C1000Z_1234”.
Decoding the Password
Using the same openssl command I tried decrypting a few of the passwords from the configuration file but was getting the error “bad decrypt”. I did more Googling and found references mentioning a need to provide a message digest to openssl. I remember seeing references using MD5 in other areas of the binaries and updated the command below. To my surprise it worked!
$ openssl des -in encoded_password.txt -d -k "C1000Z_1234" -a -md md5
Wrap-Up
Now that I know how to decode the passwords, I decided to create a Python script that would parse the configuration file to provide all of the credentials. The script can be found on my Github page.
This research was nothing ground breaking but was a challenge without having a background in reverse engineering or IoT. Below are a few of the resources and tools that got me interested in learning reverse engineering and the skills needed.